If you have dust bunnies everywhere, winter cobwebs on the walls, and piles of things to clean, it sounds like you may need to get started on your spring cleaning! It’s your chance to give your home a deep refresh, declutter, and get rid of items that no longer serve a purpose. But it doesn’t have to be stressful. Choosing the right cleaning products for each task can save you both time and energy. Focusing on one room at a time makes it easier to stay on track, and starting from top to bottom ensures you don’t end up re-cleaning areas. To make the process even smoother, we’ve created a downloadable spring-cleaning guide and checklist to help you stay organized and make the job feel less overwhelming.
Choosing the Right Cleaner
The spring-cleaning process is more efficient if you choose the right cleaner for the task at hand. Think about the cleaner’s purpose: what do you need it to do? When you select the right product for the job, you’ll get better results with less effort. Now, let’s take a look at some essential cleaners that will help give your home the thorough spring cleaning it deserves.

Try Our Simply Done Brand
- Simply Done All Purpose Cleaner with bleach – This is a great option if you’re looking to disinfect, kill mold/mildew, whiten, or remove stains from surfaces in your home. Only use on hard, non-porous surfaces, non-food countertops, floors, sinks, and appliance exteriors.
- Simply Done Bright Day Glass & Surface Cleaner Free & Clear – If you’re looking for an effective household cleaner without dyes or fragrances, this is the one for you! With plant-based ingredients, the Simply Done Bright Day line of household goods gives you simple options with the goal of a brighter tomorrow. Perfect for achieving a spotless, streak-free shine on all your glass surfaces.
- Simply Done Lavendar All Purpose Cleaner– A fantastic floor cleaner with a refreshing scent that will fill your home. It’s ideal for use on a variety of hard, non-porous floors throughout your space. For the best results, simply mix 1/4 cup with 1 gallon of warm water.


Safety Tip – Avoid Mixing Chemical Cleaners
Many household cleaners contain chemicals that effectively break down dirt and debris, making your cleaning tasks easier. However, it’s important to handle these chemicals with care. Never mix different cleaners, as this could cause a dangerous chemical reaction. Here are a few tips for using household cleaners safely.
- Read and follow the instructions carefully.
- Use only 1 cleaner at a time.
- Use protective equipment, like disposable gloves.
- Wash hands thoroughly with soap and water after handling cleaners.
- Store chemicals out of children’s reach.


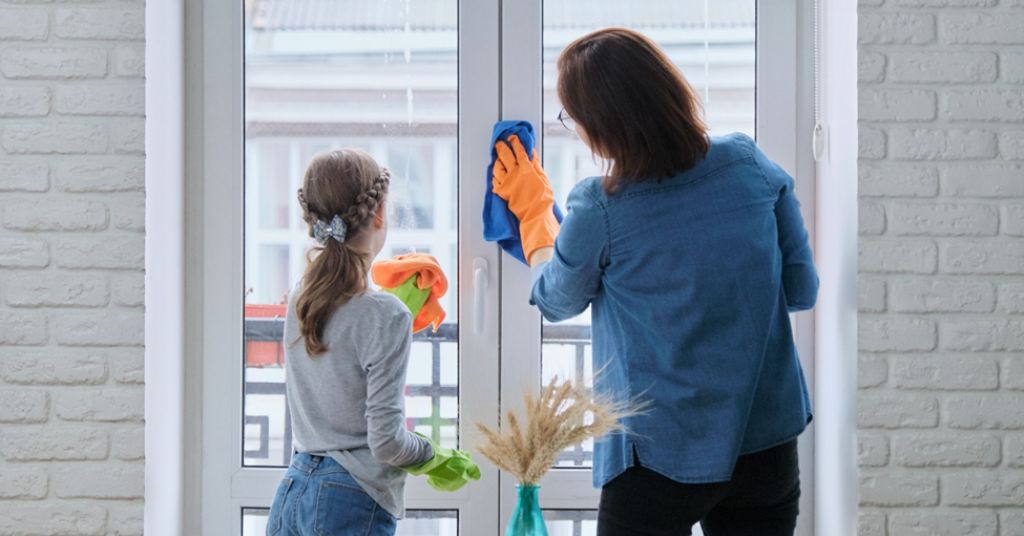
Clean Room by Room
Tackling spring cleaning one room at a time can make the process feel more manageable and ensure thorough cleaning. While it’s fine to touch up areas that get regular cleaning, focus on the spots that tend to get neglected throughout the year. Clean each room from top to bottom and left to right so you can easily track your progress, and any dust or debris that falls won’t undo the work you’ve already completed.
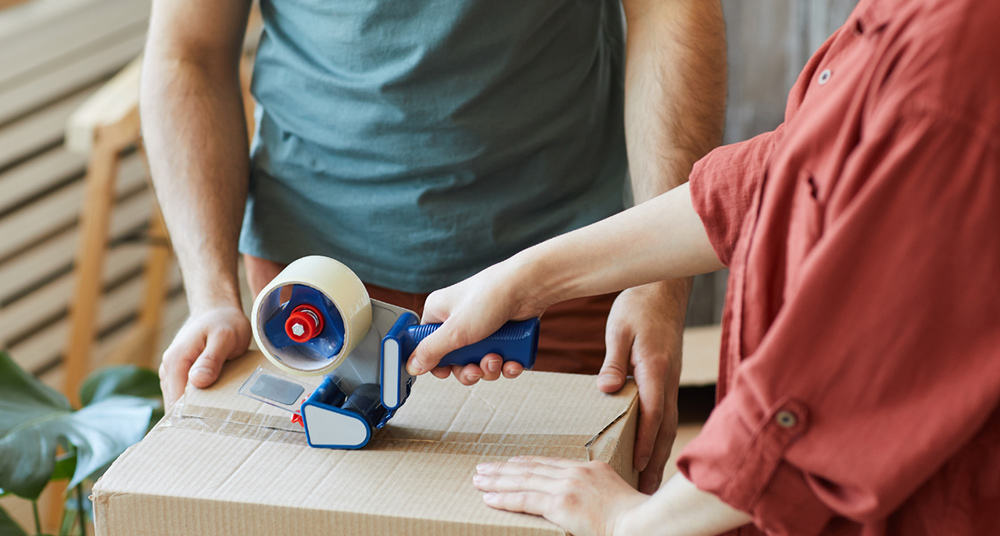
Getting Organized
As you are spring cleaning, it’s the perfect time to get organized, as a large part of the process involves clearing clutter. To manage your organization effectively, start by identifying the cluttered areas in your home, understanding why they’ve become cluttered, and finding solutions. Once you’ve sorted through everything, don’t hang onto your clutter—consider posting items for sale or offering them for free pickup to keep the process moving forward. Here is a list to keep you on track.
- Start Small: Begin with one area or room at a time to avoid feeling overwhelmed. Tackle one drawer, shelf, or section before moving on to the next.
- Follow the “One In, One Out” Rule: For every new item you bring into your home, make sure to donate or discard something old. This helps prevent clutter from building up.
- Sort into Categories: When decluttering, categorize items into groups like “Keep,” “Donate,” “Sell,” and “Trash” to make decisions easier.
- Use the 6-Month Rule: If you haven’t used an item in the past 6 months, it’s likely time to let it go. Be honest about what you truly need and use.
- Organize as You Go: Once you’ve decluttered, take the time to organize what you’ve decided to keep. Invest in storage solutions like bins, baskets, or shelving units to keep things neat.
- Tackle Sentimental Items Last: These can be the hardest to part with, so leave them for later when you’ve built up momentum with other items.
- Set a Timer: If you’re feeling overwhelmed, set a timer for 15-30 minutes and declutter during that time. You’ll be surprised how much you can get done in short bursts.
- Be Consistent: Make decluttering a regular habit. Try to spend a few minutes each week going through your space to keep things organized and clutter-free.